Artificial grass is becoming popular by day as it is considered low maintenance and a cheaper alternative to natural grass. However, there are still many people who consider artificial grass too costly for it is offering and therefore hesitate to purchase it.
These people fail to understand how reasonable and economical it can be when you have the freedom to install artificial grass turf yourself. Most importantly, turf installation doesn’t require any special tools or an advanced set of skills for its installation. You Can also check the How to Lay Artificial Grass on Decking.
The effortless installation of artificial grass helps you save quite some money, which is why we are going to discuss how you can lay artificial grass in your backyard.
We are going to discuss how to install artificial turf in a step-by-step guide to make it easier and simpler for you. So, let us begin.
Contents
Step 1: Planning
Like any other project, the first step in how to put fake grass is also planning. Planning is always the most crucial step, so you will need to pay attention to all the details to prevent any mess up.
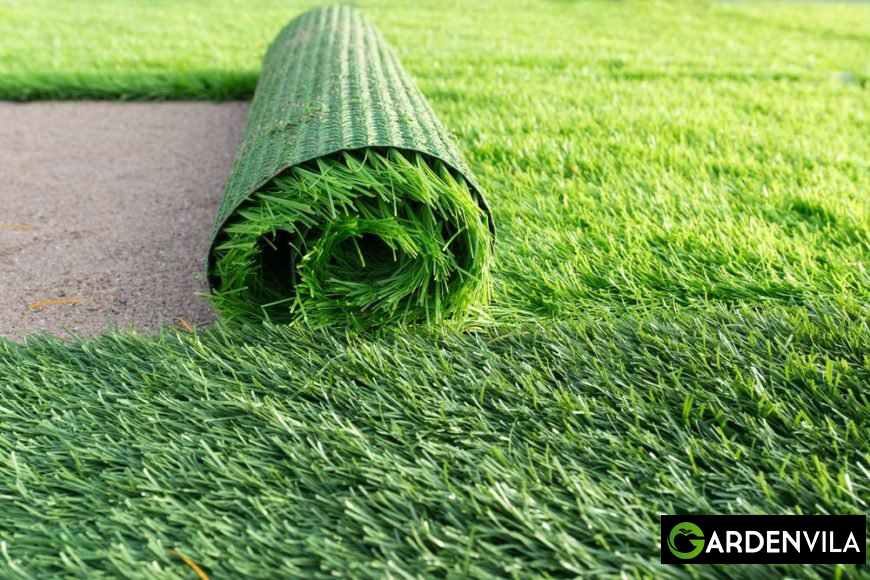
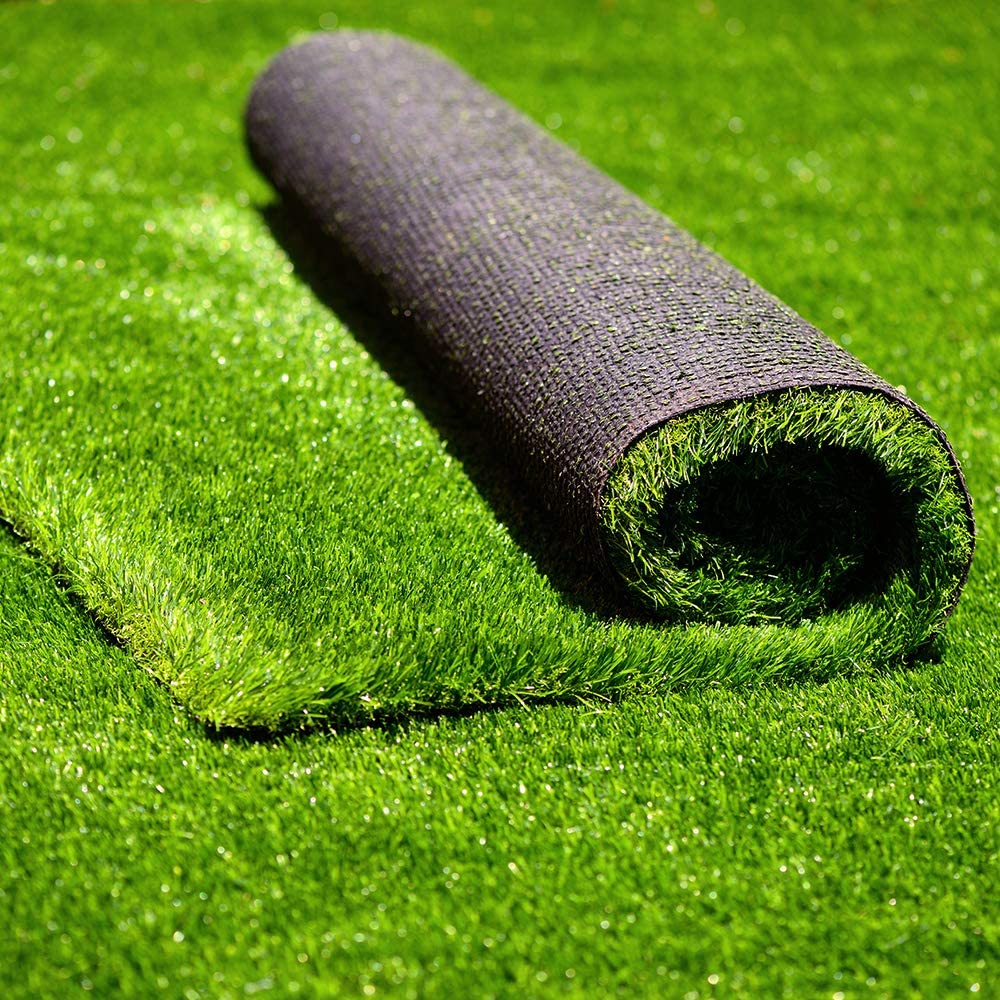
Artificial grass turfs come in predetermined widths, such as 2m or 4m; however, their lengths may vary up to 25m. Similarly, no matter which brand you prefer, all artificial grass turfs are piled directionally, which means every turf has grass blades that lean towards one side. Also, check the Can you Vacuum Your Artificial Grass?
Therefore, you have to make sure that you install all the turfs with their grass blades in one direction. For a more natural look, you can lay out the turf in a way that grass blades are leaning towards the house or the seating area of the lawn.
For your convenience and more precise measurements, you can begin by drawing a diagram of your backyard or garden where you want to install the grass turf. Next, draw rectangles to symbolize the area where you will install grass turf for an enhanced illustration of the garden.
You can use a tape measure to map out the garden easily. There is no right or wrong method of measuring, so feel free to do it however you like. You Can also check the Best Artificial Grass for Arizona Heat.
Additionally, take down the measurements carefully so that no area is left uncovered. Your measurements should be made by square meters, and this way, you will determine how much artificial grass you will need. Make sure that you make no mistakes because it could cost you a lot.
To make sure that you haven’t made any mistakes, always double-check the measurements, or you can also ask for another person’s opinion to make sure everything checks out.
After you are done measuring and double-checking, now you can move on to the next step.You Can Also Check the Best Artificial Grass for Dogs.
Step 2: Order Your Artificial Grass Turf
Now that you have taken all the measurements of your garden and are aware of how much grass you will need, you can place an order for your artificial grass turf. You can place your order online after choosing the right dimensions from the options given on the website.
Some people prefer to do it over the phone because it clears up everything and gives them a sense of assurance. However, when you place an order online, it allows you to go through the reviews of people who have used the same product, and this way, you can make sure that you are investing in the right product.
When you are ordering your artificial grass turf, don’t forget to order the tools you will need for it. There is a chance that you might already have most of the tools, but you will still need some special tools to ensure the correct installation of the turf.
Some of these tools are:
- Seaming tape
- Artificial grass adhesive
- Cutting blade
- Spreader for the adhesive
- Weed membrane
- Oval head fixing pins
Other tools that you might have lying around in your basement are:
- Shovel
- Hammer
- Brush
- A straight piece of wood for smoothing out the sand base
Step 3: Edges
Some people pay close attention to detail, and if you are one of those people and want an extra neat finish to your artificial grass turf, then you will also need an edging product. It will make sure that your artificial grass turf is nicely installed. You will have to install the edging after you dig out the soil for the perfect finish.
Edging isn’t mandatory, and if you wish, you can skip this step. However, you will need to secure your artificial grass turf perimeter with some fixing pins after the installation.
Step 4: Prepare The Area of Installation
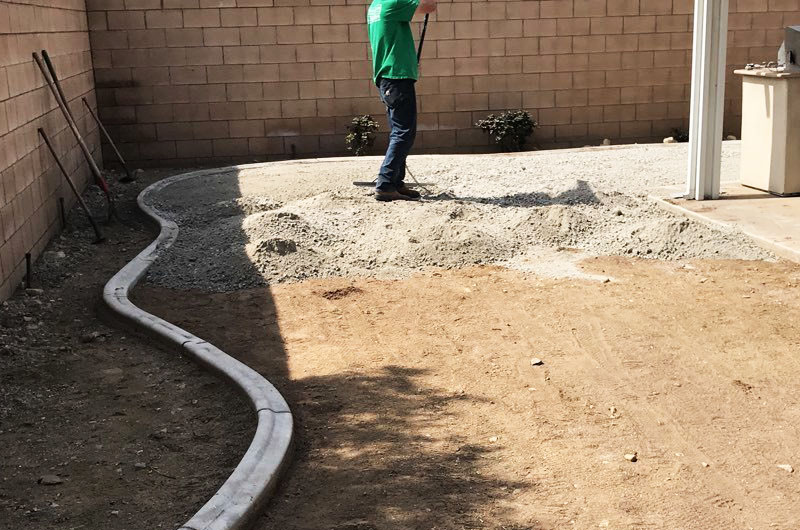
The next step is to prepare the soil for artificial grass, and for that, you will need to remove the top soil from your garden and dig as deep as 35mm. Now, you can lay out sharp sand and spread it smoothly to create a nice finish for your artificial grass turf. You Can also check the Artificial Grass vs. Real Grass.
Make sure that you do this step right because a neat and smooth sand layer will make all the difference and determine the level of comfort you get to enjoy on artificial grass.
Step 5: Weed Membrane and Underlay
After you have prepared a neat and flat base, you can lay out the weed membrane and install a shock pad underlay. The installation of the weed membrane will prevent any seeds or weeds from sprouting through the drainage holes of the artificial turf. These holes are designed to let water spill through so that the grass doesn’t start pooling.
The shock pad underlay is cut right before the perimeter to ensure a secure fastening of the edge.
Step 6: Lay out the Artificial Grass
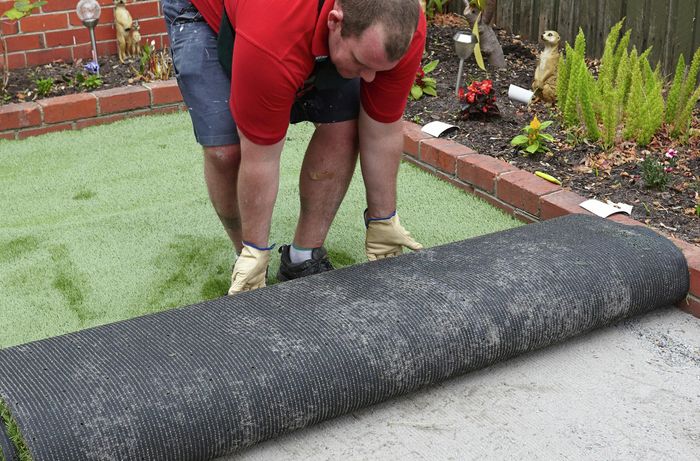
Now that you have prepared everything, you can lay out the grass turf. You can cut the grass to your preferred size and make sure that you do it with a sharp knife or cutting blade. Furthermore, make sure that all the pieces of the artificial grass turf have grass blades facing the same direction. Also, check the How to Lay Artificial Grass on Concrete.
For a natural and pleasant look, we recommend that you install the grass turf with grass blades facing towards the house so that when you look at the grass from your house, it instantly brightens you up.
Step 7: Joining the Grass
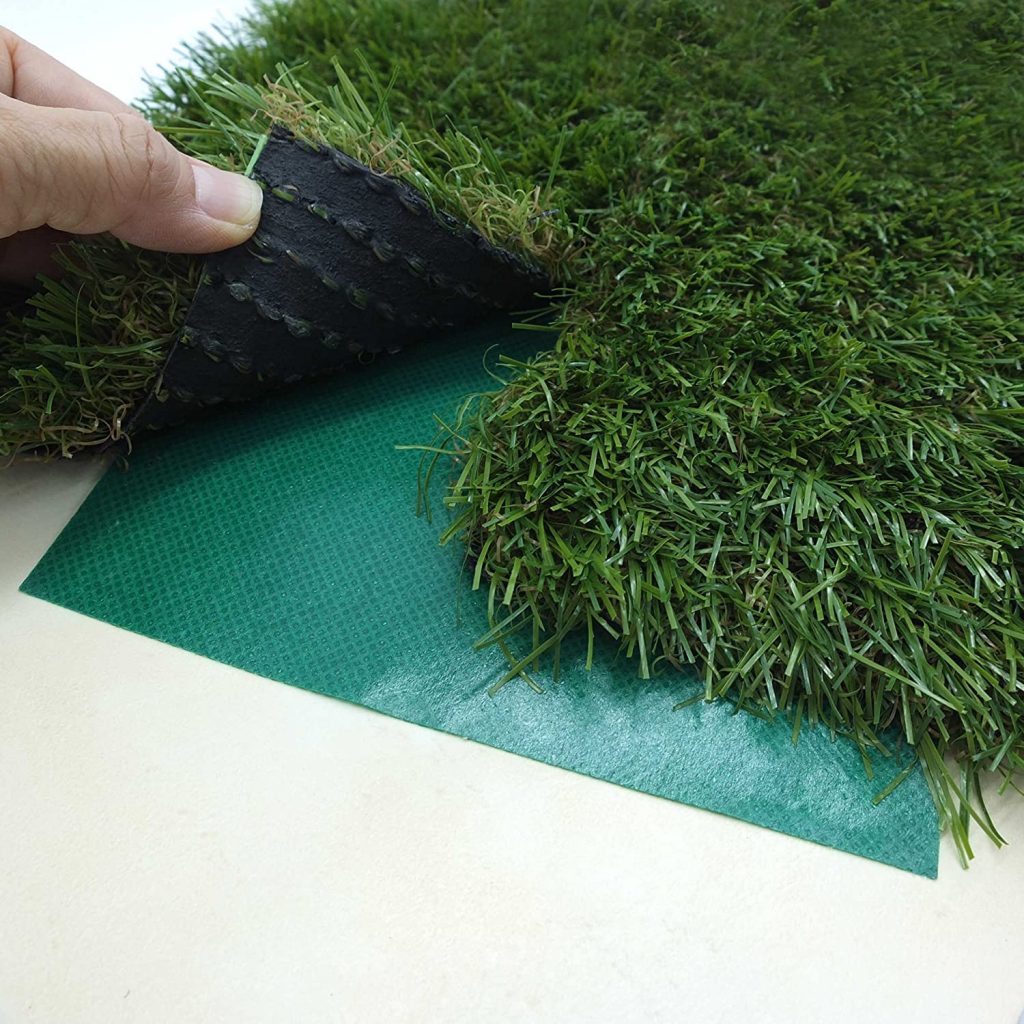
After you have your grass turf laid out on the ground, you need to join the seams to even out the edges. All you will need is a seaming tape or an adhesive for this purpose, and you’ll be done with it in no time.
Additionally, for a seamless look, you can ruffle the grass together, and it will look incredibly realistic.
Step 8: Fix the Edges
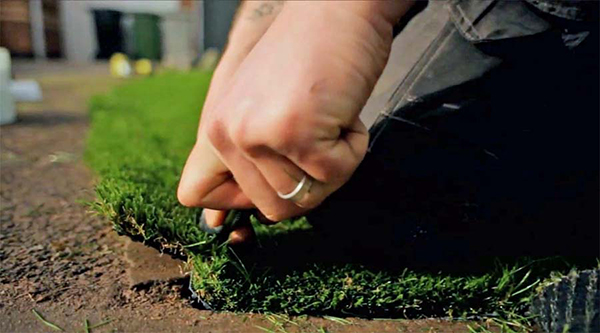
The second last step of the project is to secure the artificial grass turf on the perimeter around the edges. For edges that are around the pathway or fencing, we would recommend securing them directly onto themselves. However, around flowerbeds, you can overlap the grass by 50mm and secure it to the side. You Can also check the Types of Artificial Grass.
You can use a heavy-duty staple gun or tiny screws to secure the grass around the pathways. All you have to do is simply pull back the grass fibred and staple it through its backing.
Step 9: Brush up, and You are Done
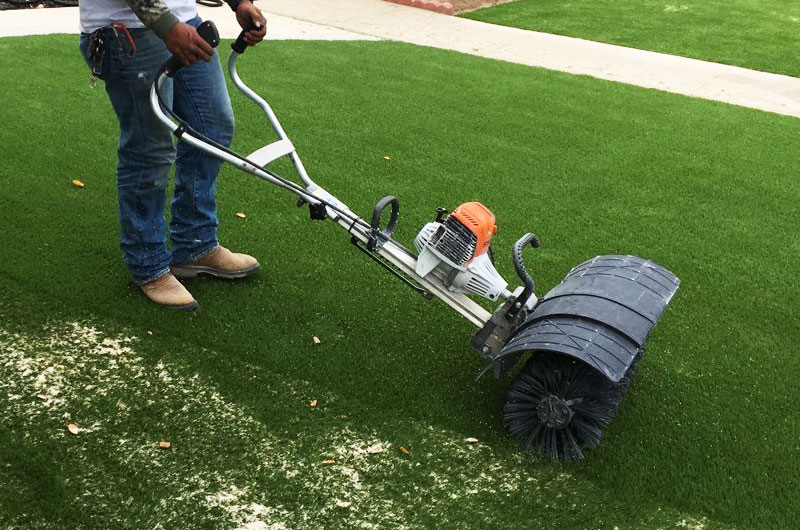
Now that you are done with the synthetic turf installation process, all that is left to do is brush up the grass blades and smooth them out so that they are back to their natural position. And, now you can sit back and relax.
Well, there you have it. You have successfully installed a perfect artificial lawn by yourself. Do you agree that this was the cheapest way to lay artificial grass? Furthermore, you won’t have to worry about its frequent maintenance anymore, and you will be able to enjoy it just like a natural lawn in your backyard.
Now you can decide “how to lay artificial grass” wasn’t that complicated, right? You Can also check the Best Football Boots for Artificial Grass.
