The installation of artificial grass isn’t a complicated task; instead, it is incredibly hassle-free and quick. You won’t need anything special other than your regular tools that are lying around in the basement. By performing this effortless task yourself, you will be saving quite a sum of money, but to make sure that you do it correctly, we are going to help you through it.
Joining artificial grass requires a little more attention to detail, and indeed, it is almost impossible to identify the join done by a professional. Therefore, we are going to guide you through this process step by step to ensure that you, too, can do it like the pros.
The purpose of joining the artificial grass turf patches is so that you can achieve that natural look of the lawn, and it doesn’t give away its fakeness.
Let us have a look at the step-by-step guide of joining artificial grass.
Contents
How to seam artificial grass?
Step 1: Unroll the artificial grass turf
Begin with unrolling your two pieces of artificial grass and lay them out flat on the surface together. Place them adjacent to each other and make sure their edges are equal. Additionally, make sure that that the grass pile is facing the direction of the viewpoint so that it gives a natural look.
Step 2: Time to cut

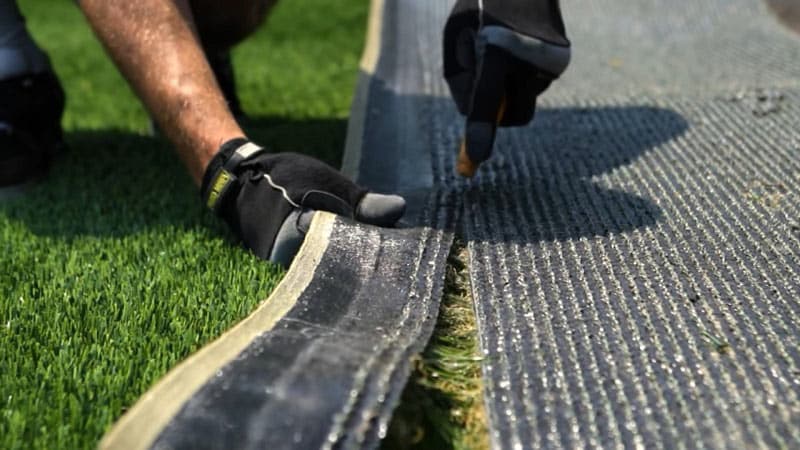
To be more precise, you can cut in by at least three tufts. This step helps ensure a perfect seam and maintains a natural space between the grass blades. You Can also check the Best Football Boots for Artificial Grass.
Step 3: Sit back and observe
Now that the artificial grass patches are all set to be joined, wait, sit back and observe a little. Make sure that the positioning of the grass is correct and it doesn’t look unnatural.
Step 4: Apply the join tape
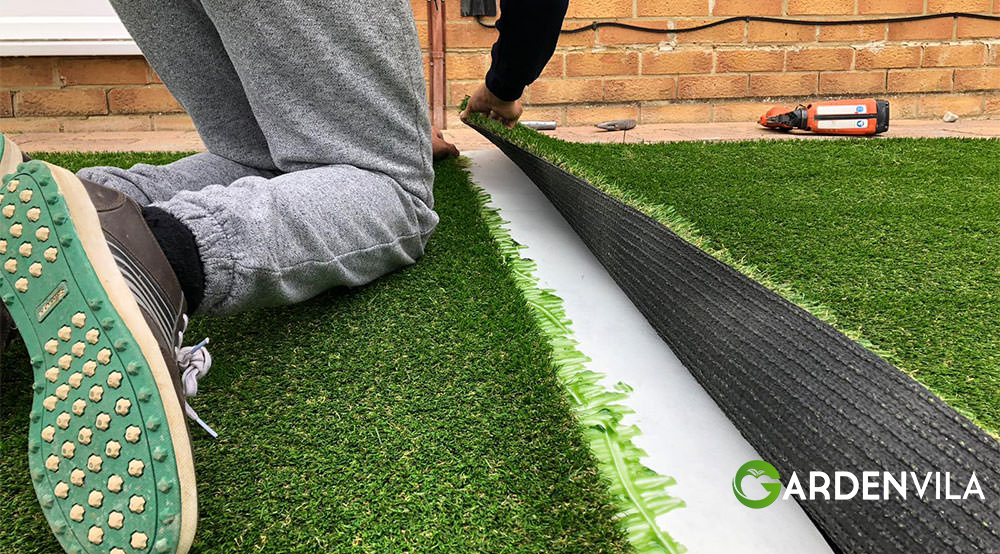
Begin placing the joining tape, shiny-side down, along the entire length of the join. Make sure that you don’t roll over the grass just yet, and don’t forget to secure the tape with an adhesive for artificial grass or nails. You Can also check the Best Artificial Grass for Dogs.
Step 5: Time to fold
Now it is time to carefully fold one side of the artificial turf onto the artificial grass joining tape and then slowly fold over the other side of the join. Make sure that you minimize the gap to 2-3mm between both sections to achieve the ideal results. You Can also check the Best Artificial Grass Cleaner.
Step 6: Apply the adhesive

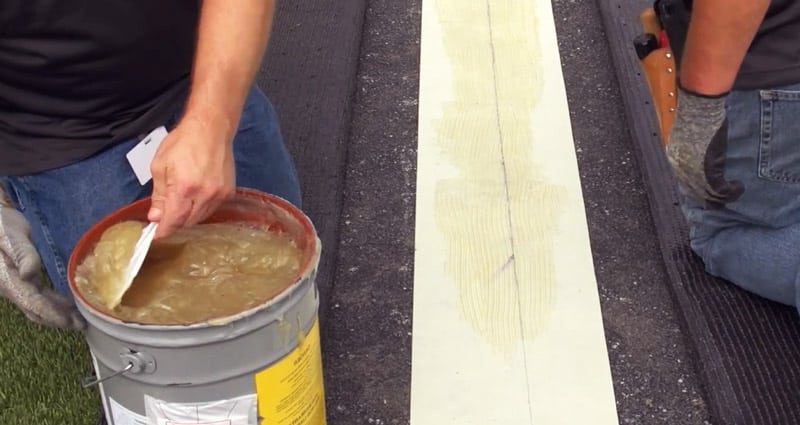
In case you are using a standard nozzle, you will have to do things a little differently. First, you will have to apply the adhesive under the first section of the grass turf, and then you will have to apply the adhesive again to the front edge to secure the second section of the artificial grass turf. You Can also check the Best Football Boots for Artificial Grass.
Step 7: Let it dry
Now that you have joined the two pieces of artificial grass turf together, leave it for some time to dry. Additionally, placing some weight along the joint would be a good idea, and it will ensure a secure and invisible joint. Let it sit for a few hours and then begin the rest of the installation process. You Can also check the Best Artificial Grass for Cats.
You are done! Now go, join your artificial grass turf together.
